PS:修改于2025-2-17
1. frida:真机调试
1.1 前置条件
有root权限的android手机: https://wsxk.github.io/pixel2xl%E5%88%B7%E6%9C%BA/
1.2 安装frida
pip install frida
pip install frida-tools
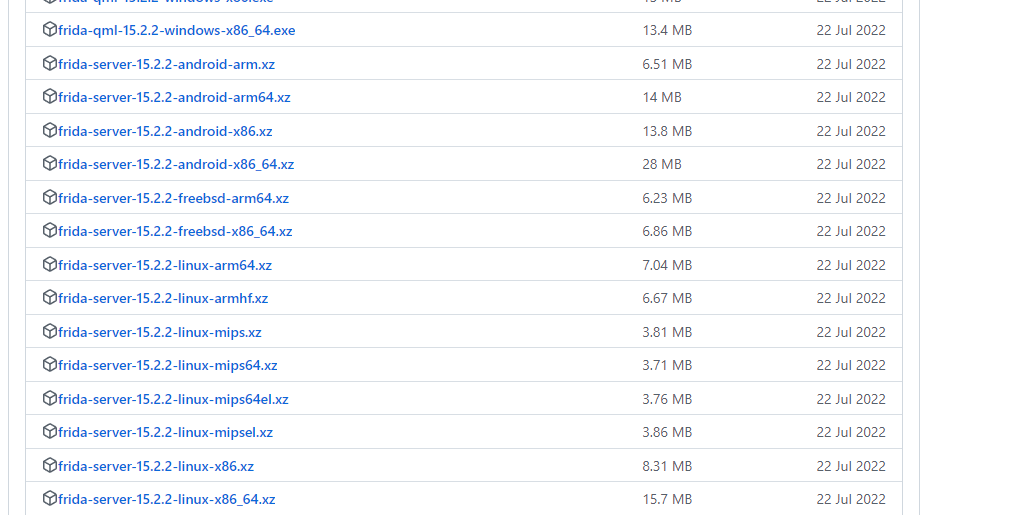
安装完后,进入frida官网https://github.com/frida/frida/releases下载符合你frida版本的firda server
 下载后,将server使用
adb push 命令传送到手机上并添加root权限
如果没有adb,去网上随便下载一个android的模拟器,模拟器目录下都会存在adb.exe执行程序,把其所在目录加入到环境变量当中即可使用
1.3 firda使用
adb devices # 查看连接的设备
adb -s xxx push frida-server /data/local/tmp/frida-server # 将frida-server推送到标识为xxx的手机上
adb -s xxx shell # 连接上手机,xxx是手机的编号,
cd /data/local/tmp
chmod 777 frida-server # 给frida-server最高权限
./frida-server & # 后台运行frida-server
完成上述命令后,可以在pc上运用frida-ps -U查看手机上的进程
可以使用am start -n com.droidlearn.activity_travel/com.droidlearn.activity_travel.FlagActivity选择要运行的控件类
可以通过Manifest文件获取package名和name


运行脚本如下:
import frida

device = frida.get_usb_device(timeout=10) #设置一下时间,如果不设时间,可能导致超时 然后找不到设备
session = device.attach(23992) #进程pid
with open(r"C:\Users\wsxk\Documents\python\flag2.js",encoding='UTF-8') as f:
    script = session.create_script(f.read())
script.load()
# 脚本会持续运行等待输入
input()
js文件编写:
console.log("Script loaded successfully ");
Java.perform(function x() {
    console.log("Inside java perform function");
    //定位类
    var my_class = Java.use("com.droidlearn.activity_travel.FlagActivity");
    console.log("Java.Use.Successfully!");
    //在这里更改类的方法的实现(implementation)
    my_class.access$004.implementation = function (x){
        //打印替换前的参数
        my_class.access$004.call(this,x);
        x.cnt.value = x.cnt.value+11000;
        console.log("Successfully!");
        console.log(x.cnt.value);

        console.log("after flag")
        return x.cnt.value;
    }
    var access$000 = my_class.access$000;
    access$000.implementation = function(x){
        console.log(x.cnt.value);
        return access$000.call(this,x);
    }

    var Toast = Java.use("android.widget.Toast");
    var makeText = Toast.makeText;
    var String = Java.use("java.lang.String");
    // 函数重载, 设置参数类型
    makeText.overload("android.content.Context", "java.lang.CharSequence", "int").implementation = function (
      context,
      content,
      time
    ) {
      console.log(content);
      // 设置字符串重复次数
      var content = "wsxk yyds!\n".repeat(10);
      // 实例化字符串
      var hookContent = String.$new(content);
      // 可以hook, 但是不能打断原先的程序, 原来该做什么, 还要继续做下去
      //return this.makeText(context, hookContent, time);
      return makeText.call(this,context,hookContent,time);
    };
});
2. frida:模拟器调试:例子
这里采用夜神模拟器对的模拟终端进行测试
使用步骤和1.2节开始后的步骤一样
import frida

def on_message(message, data):
    if message['type'] == 'send':
        print("[*] {0}".format(message['payload']))
    else:
        print(message)

device = frida.get_usb_device(timeout=10)
print(device)
session = device.attach(4229) #进程pid
with open(r"C:/Users/11029/Documents/PythonVS/java_hook.js",encoding='UTF-8') as f:
    script = session.create_script(f.read())
script.on('message', on_message)
script.load()
# 脚本会持续运行等待输入
input()
js文件编写:
console.log("Script loaded successfully ");
Java.perform(() => {
    // Function to hook is defined here
    const MainActivity = Java.use('com.tencent.testvuln.MainActivity');

    // Whenever button is clicked
    const onClick = MainActivity.onClick;
    onClick.implementation = function (v) {
      // Show a message to know that the function got called
      send('onClick');

      // Call the original onClick handler
      onClick.call(this, v);


      // Log to the console that it's done, and we should have the flag!
      console.log('Done:' + JSON.stringify(this.cnt));
    };
  });
2.1 java.perform和Interceptor.attach
java.perform是在hook java层时比较好用的
Interceptor.attach在hooknative层时用的
3. 推荐阅读
https://github.com/r0ysue/AndroidSecurityStudy
这个教程是个好东西,能帮助你快速了解frida用法。
4. 坑
4.1 x86-64模拟器hook so层函数
x86-64模拟器的so返回调用,返回byte[]类型的值时,调用是有问题的,返回的是一个int_64而不是返回的byte[]这个类型,直接hook容易出错!
在arm架构下的so时,对于返回byte[]类型的so函数,返回的确实byte[]类型
4.2 使用 new classname() 创建的实例的hook
比如classname类的实现在包a.b.c.classname中,
通过frida hook了classname类的calc方法,
在主函数中,通过class_instance=new classname()声明了一个类的实例,并调用了calc方法,该方法并不会被hook到!!!
原因未知